Quick Start
Once you get access to Glean, you will be invited to login to a project. Users can belong to multiple projects, but data cannot be shared between projects. So users, permissions, database connections, data models and every other resource is isolated in the context of a project. Typically your entire organization can be managed in a single project.
Not ready to connect to a database?- You can use a Sandbox demo project to test the functionality of Glean with sample datasets.
1. Add a database connection
Also see database connections for configurations specific to different database types.
Firewall Configuration- If you use a firewall to restrict access to your database, you'll need to allowlist Glean's IPs. Glean will always connect to your database from one of these IP addresses.
18.210.29.198
34.230.230.9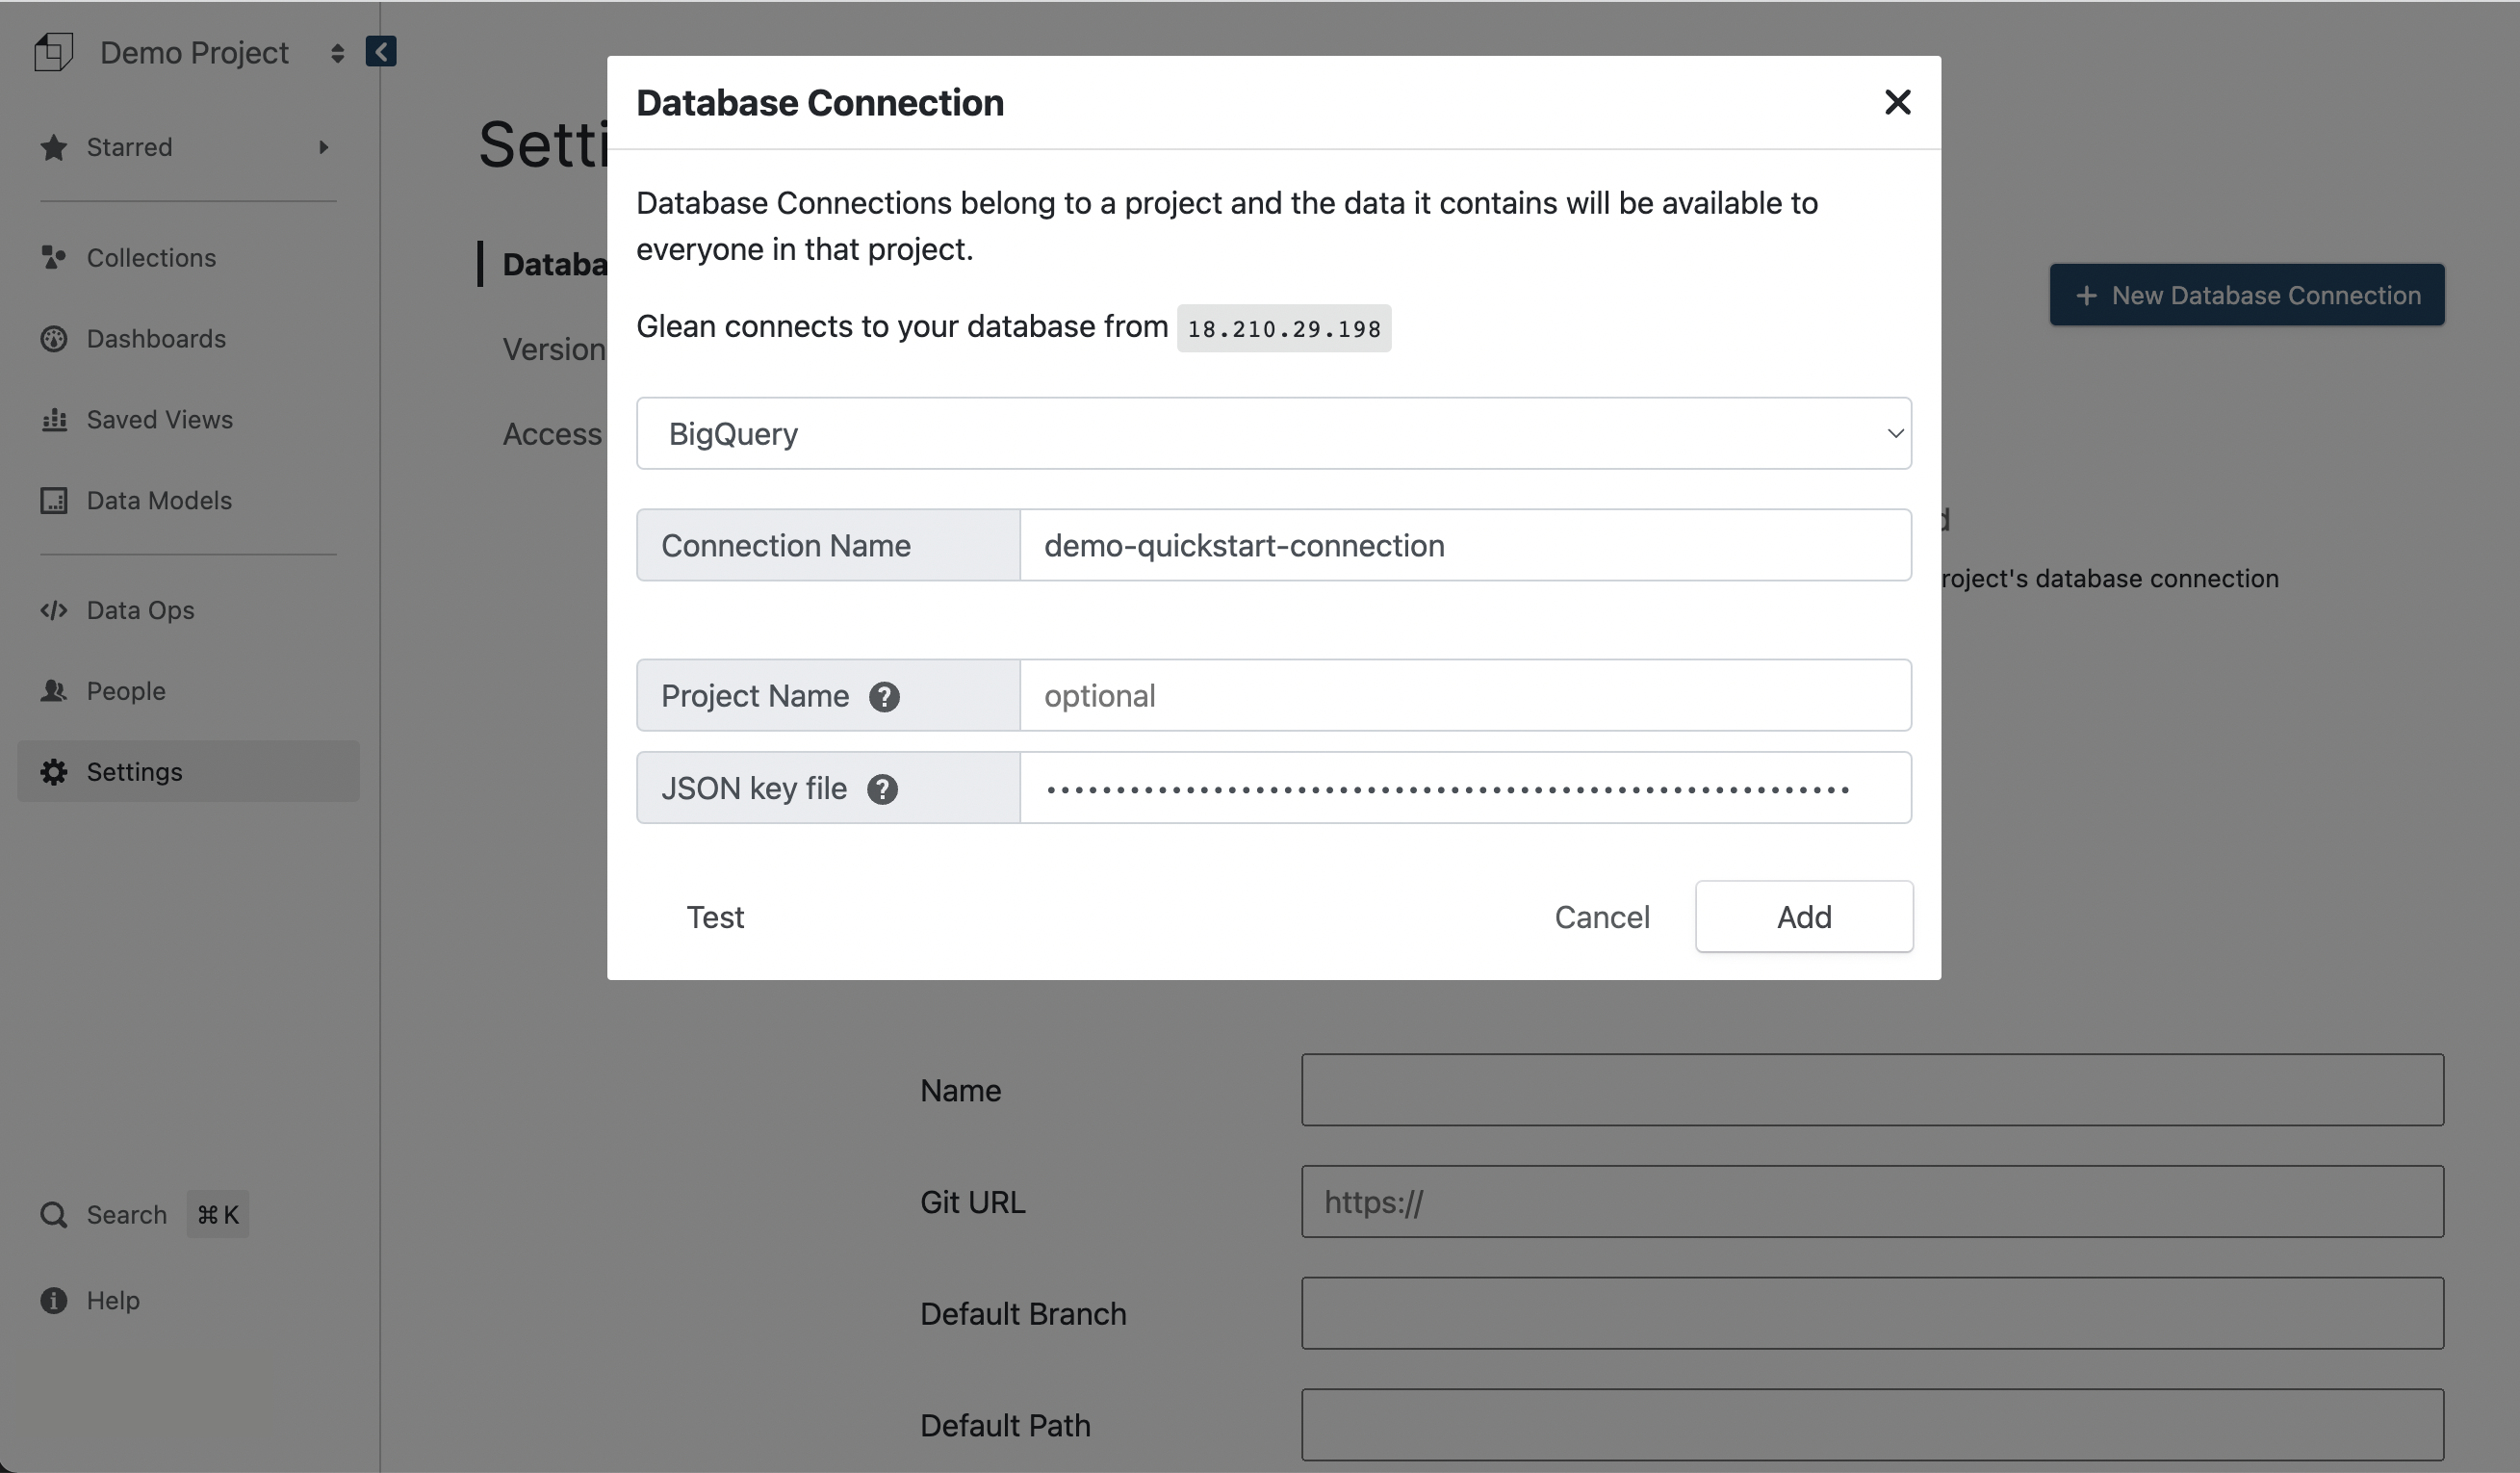
- Go to the Settings page (opens in a new tab)
- Click
+ New Database Connection - Select the type of database; either Athena, BigQuery, Snowflake, Postgres, Redshift, ClickHouse or DuckDB
- Enter the credentials according to your type of database
- Click
Testto test your connection - Click
Addto complete the process
2. Define a data model
Every chart and analysis is based on a Glean data model.
- Go to your project homepage (opens in a new tab) and click
New Data ModelSelect a database connection, click on a table name, and clickBuild Model
Using a SQL Query- Each Glean data model is based on an underlying data table. If the data in your data isn't quite in the right format, it's possible to specify an underlying query as the basis for your data model.
-
Define the data model a. Edit the name of the data model at the top of the page b. Add additional measures and attributes by clicking
Add measureandAdd attributenext to the name of the field c. Create a SQL based custom measure by clickingAdd custom measure(see Measures for more details) -
Click
Save Modelthen clickOpen in Exploreto start exploring the data
3. Start interacting with your data
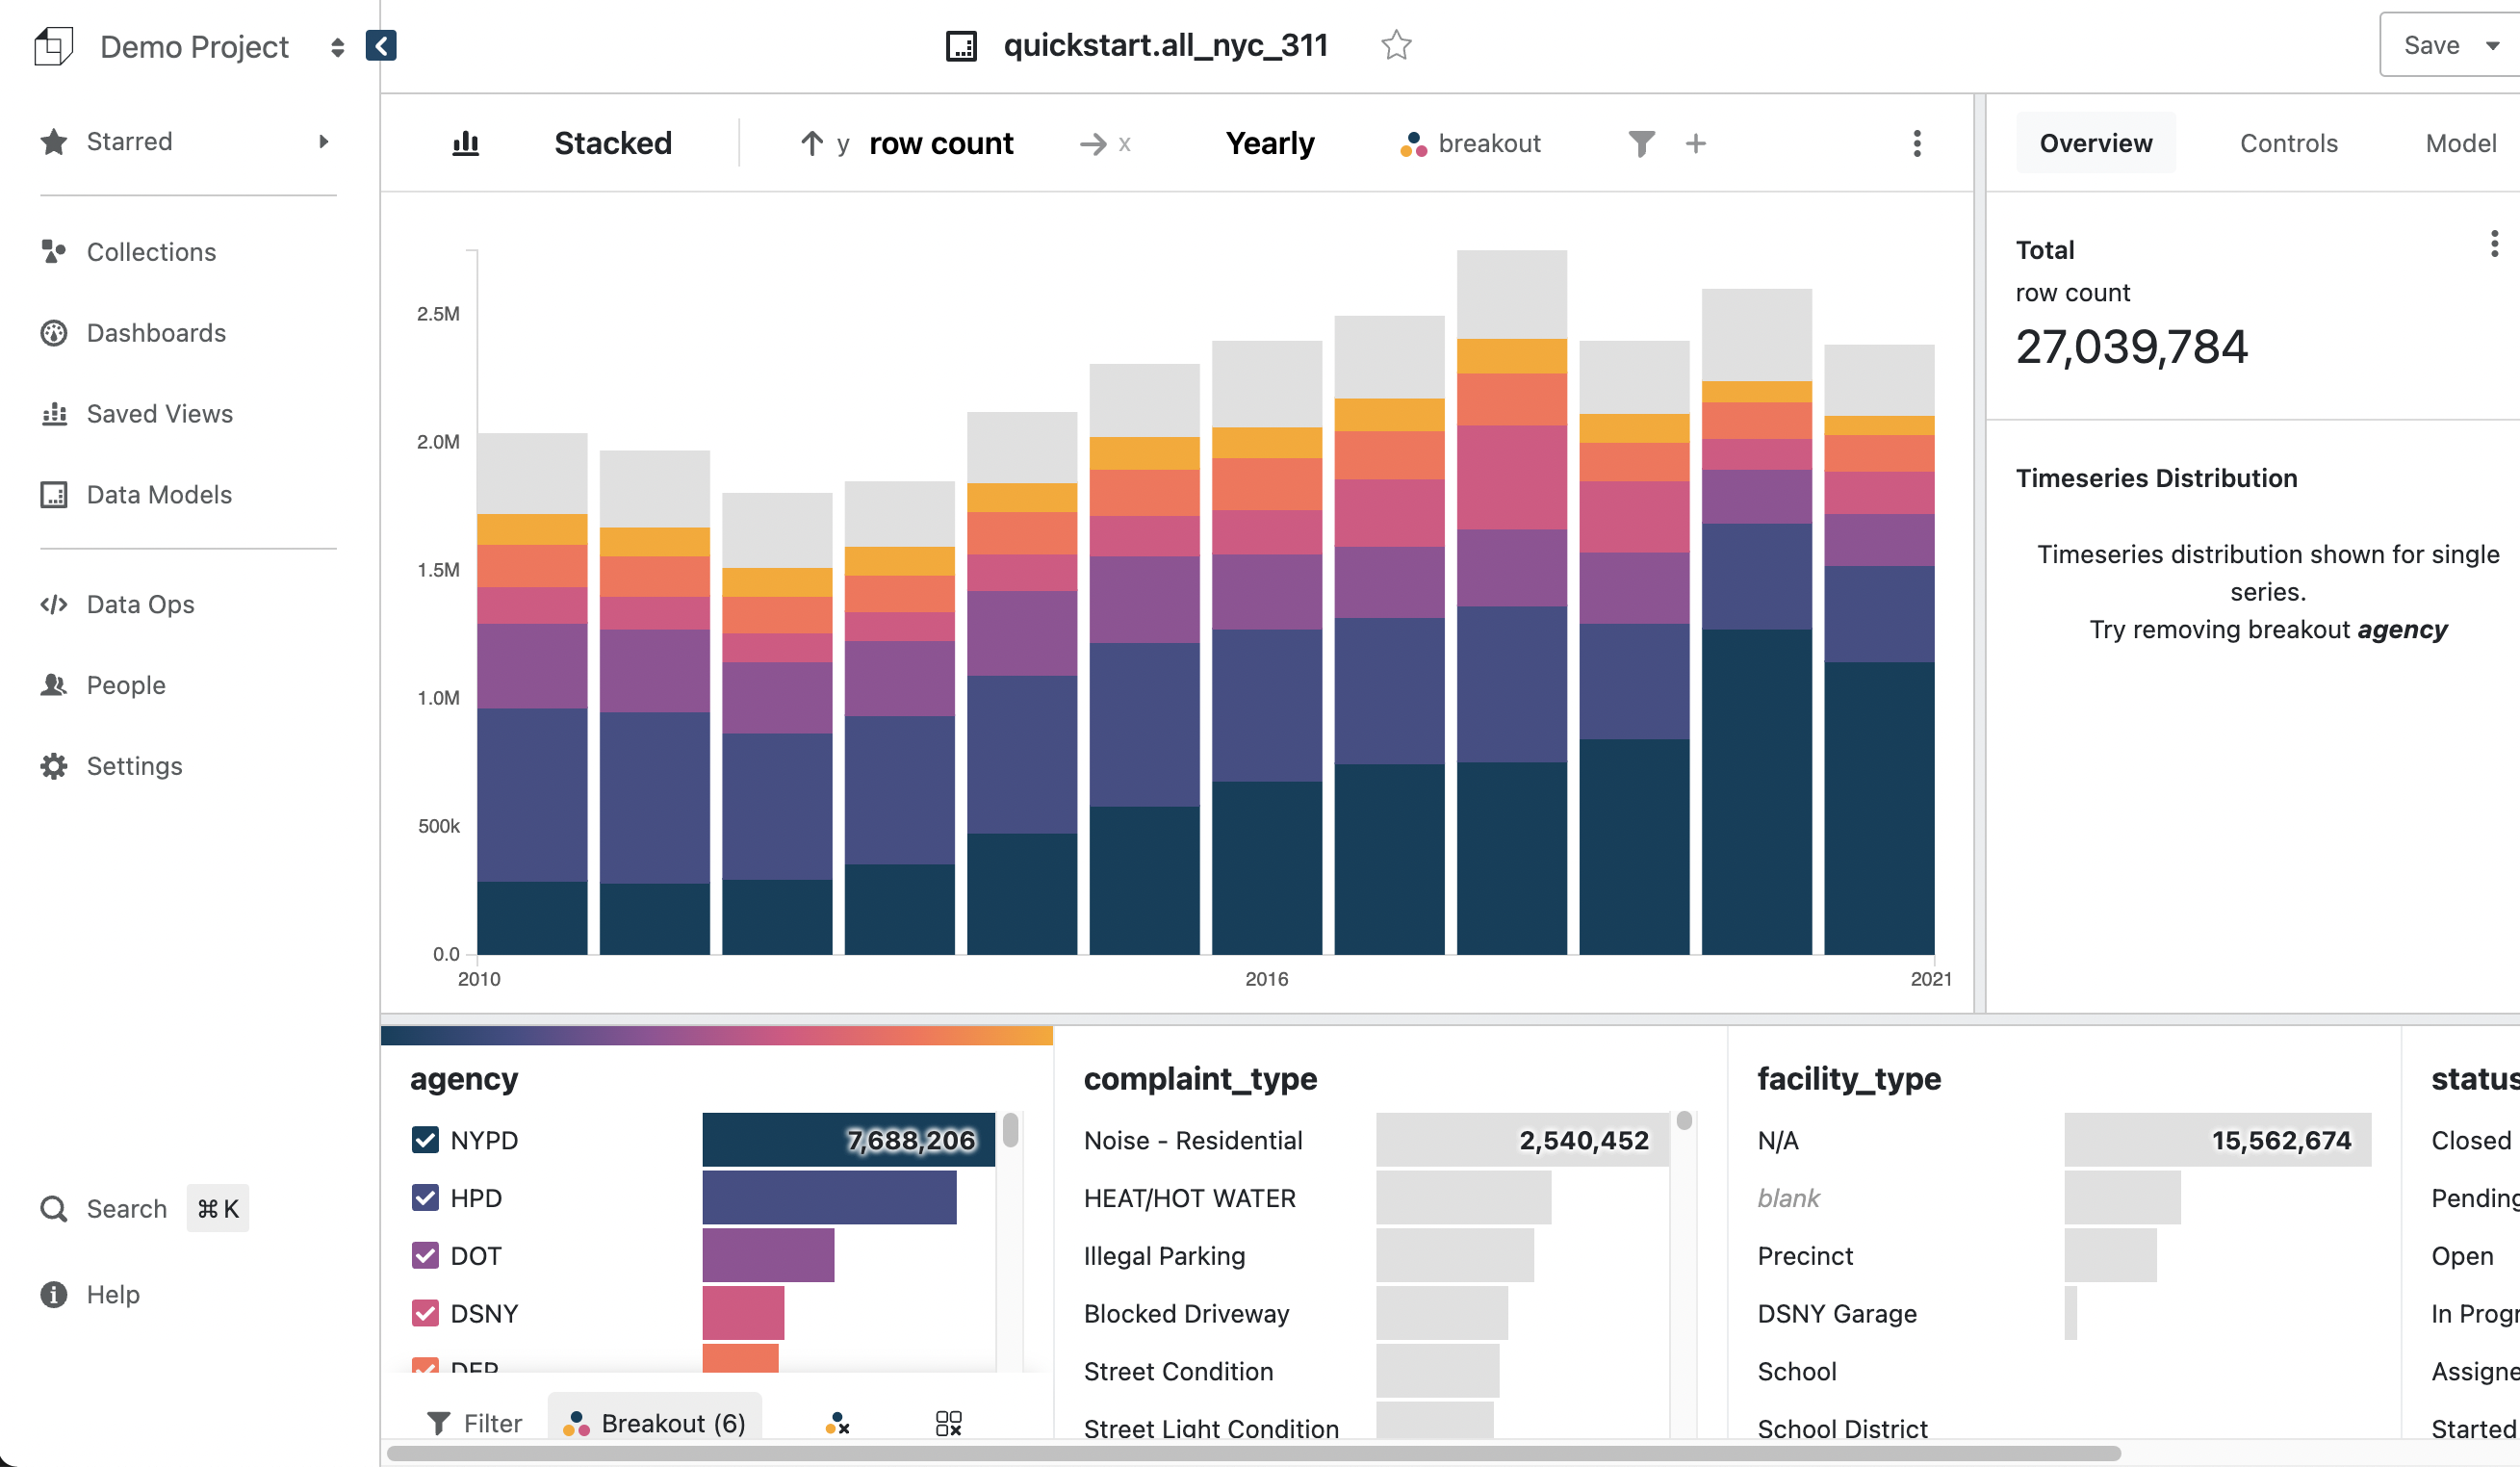
- Go to the Data Models page (opens in a new tab)
- Click on the name of the data model we just created
You're ready to begin interacting with your data. Next, learn how to use the Attribute Tray to filter and breakout your data.